Add online reservations to your WooCommerce shop
The integration is done by adding our dedicated plugin to your Wordpress site.
 1
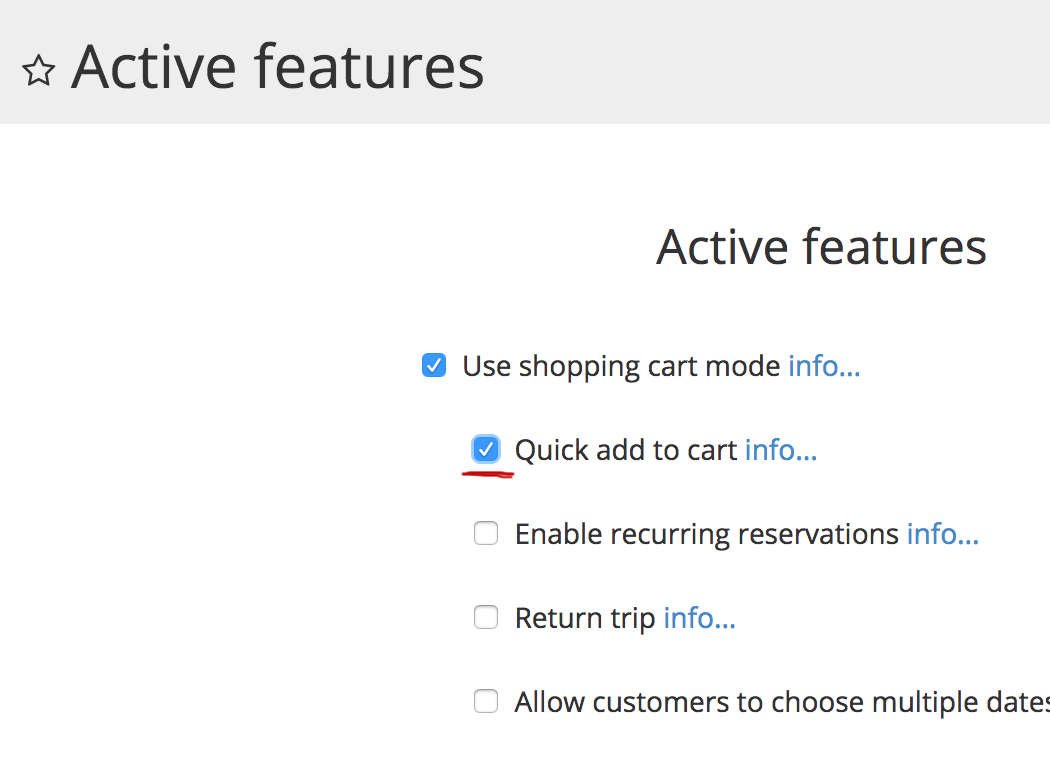
1 In the Planyo backend, go to Site Settings / Active Features and switch on the shopping cart in the Quick Add to Cart mode. This is required in order for the WooCommerce integration to work properly.
 2
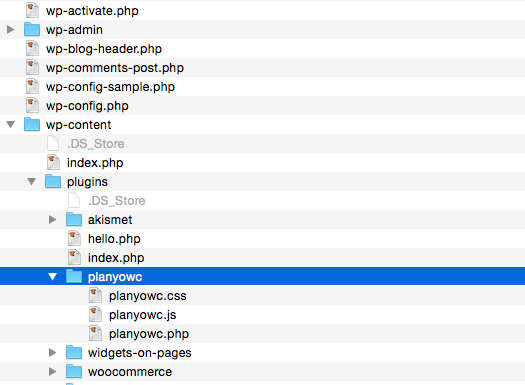
2 Download the WordPress plugin (available here). After downloading the plugin, unzip its contents into the wp-content/plugins/planyowc directory inside the main WordPress directory.
 3
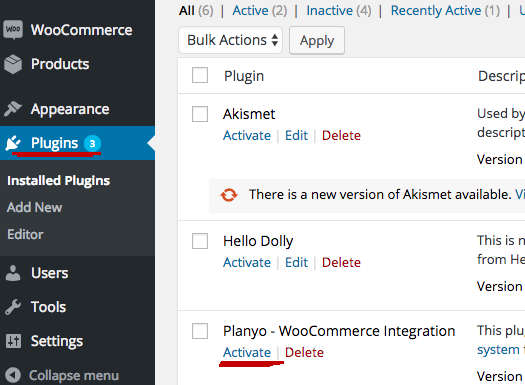
3 In WordPress, choose Plugins from the left navigation and activate the Planyo WooCommerce integration plugin by clicking Activate inside the plugin row. If you don't see the plugin here, then the files were not saved in the correct location.
 4
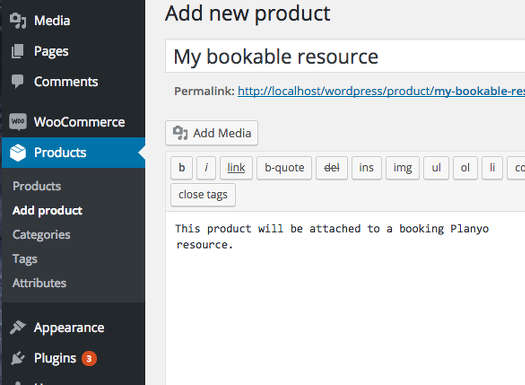
4 For each Planyo resource (bookable product/service), add a WooCommerce product. The price will be calculated dynamically by Planyo, so just set any price at this time (e.g. your base price).
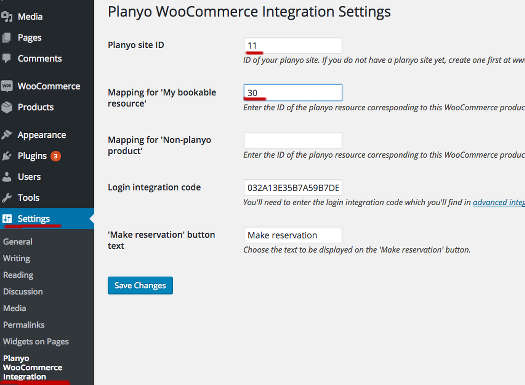 5
5 Now choose Settings, then Planyo WooCommerce Integration. This will open the plugin settings window. Change Planyo site ID to your site's ID. Then, for each product corresponding to a Planyo resource, specify its resource ID.
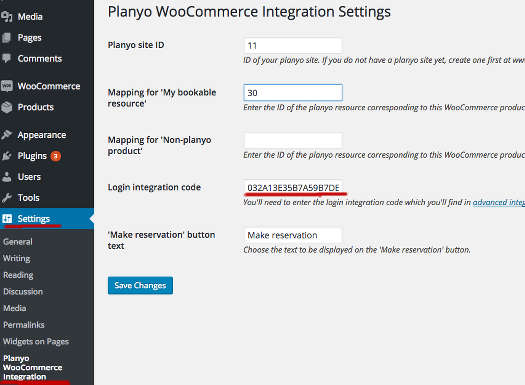 6
6 Remember to set the Login integration code in the settings. You'll find this code in advaced integration settings in the Planyo backend.
This is all you need to do in order to have the entire booking process integrated into your WooCommerce online eCommerce store. If you need reservation-specific widgets such as availability search, calendar preview or many other widgets available in Planyo, you'll need to install the standard Wordpress plugin - click here for details and a step-by-step tutorial. Both plugins (our standard Wordpress plugin and the WooCommerce integration plugin) will be compatible and the products will be correctly added to the WooCommerce shopping cart, also when the Planyo widgets / UI are used throughout your Wordpress website.
Learn more about Planyo's features and integrations!


